§ Journal · May 28, 2026
EGO: How to Change EGO Edger Powerhead Blades AEB0800
Step-by-step guide for EGO owners — with video walkthrough.
If your EGO edger is no longer cutting a clean, defined trench line, the blade is usually the first thing to inspect. A worn, chipped, bent, or undersized blade makes the powerhead work harder and leaves rough results along sidewalks, driveways, and beds. The good news is that replacing the blade on an EGO edger powerhead is a straightforward maintenance job you can handle in just a few minutes with basic tools. Below, we’ll walk through how to change the blade on the EGO edger powerhead, what to check while you’re in there, and how to get the machine ready for clean edging again.
Tools and parts you’ll need
Before you start, gather everything in one place:
- Replacement edger blade compatible with your EGO edger powerhead
- Correct wrench or socket for the blade fastener
- Work gloves
- Safety glasses
- A clean rag
- Stiff brush or nylon brush
- Light penetrating oil, if the hardware is stuck
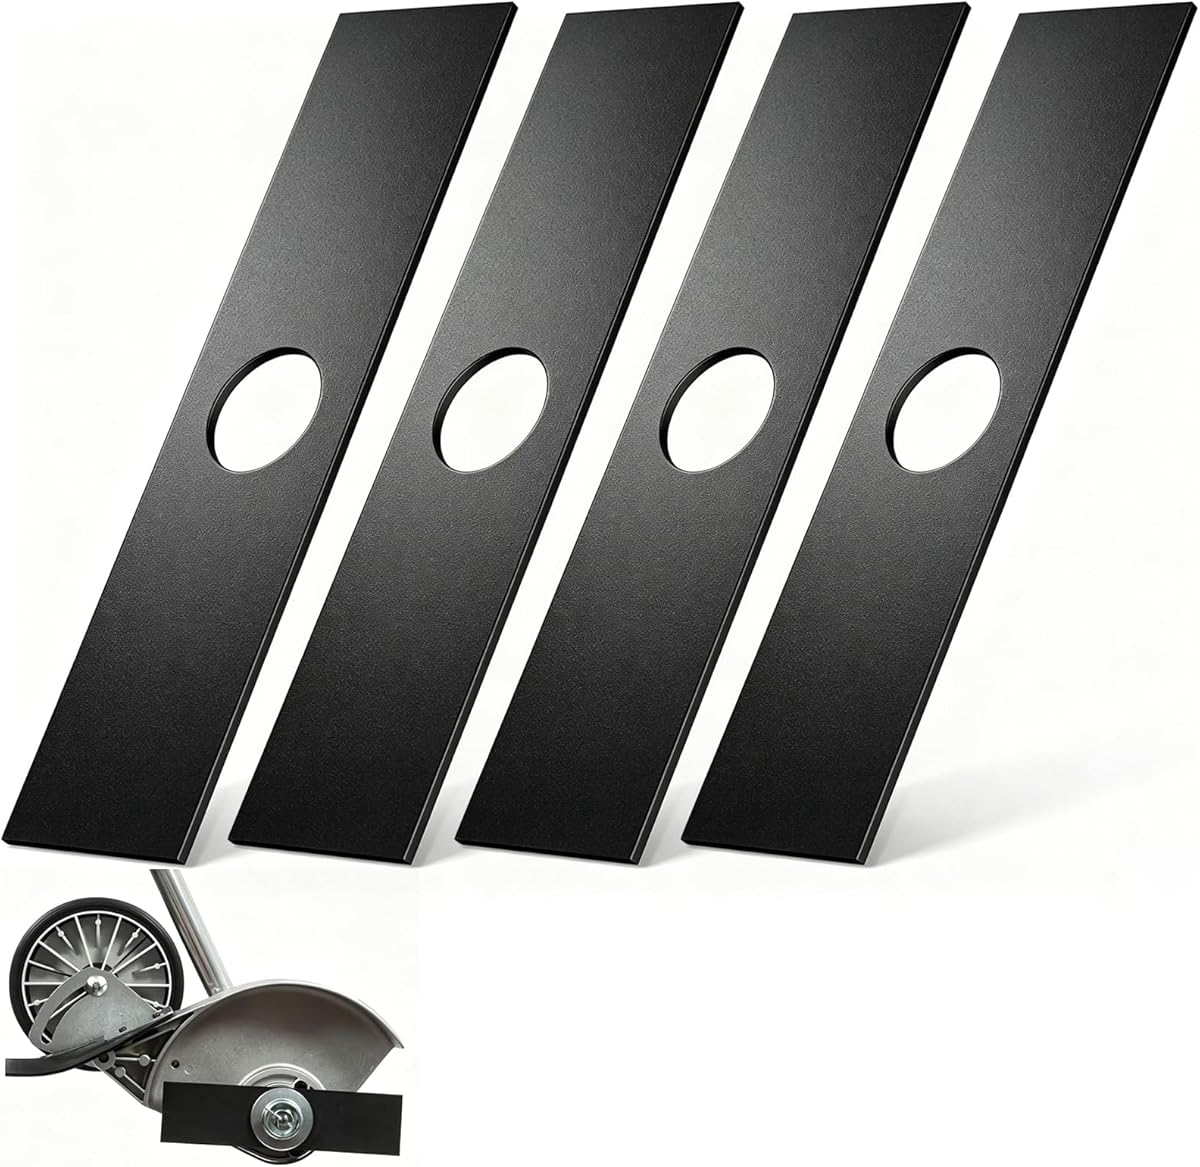
If your original blade hardware is badly worn, rusted, or damaged, it’s smart to replace that at the same time. Compatible replacement blades and related EGO edger parts are available on our site, making it easier to match the right components for your setup.
Prepare the edger for safe blade replacement
Any time you work around a cutting attachment, safety comes first. Even though this is a battery-powered unit, you should treat it with the same caution you would any power equipment.
Start by turning the tool off completely and removing the battery. This is the most important step. Never attempt a blade change with the battery installed.
Next, set the edger on a stable, flat work surface where the blade end is easy to access. If the unit has just been used, give it a few minutes to cool down and let any packed dirt dry a bit. A dry housing is easier to clean and work around.
Put on gloves before handling the old blade. Edger blades often have sharp edges or burrs, especially if they’ve hit concrete, roots, or buried debris.
Now inspect the blade area closely. Look for:
- Heavy dirt buildup around the guard and spindle area
- Bent or cracked blade edges
- Excessive blade wear reducing blade diameter
- Damaged washers, flanges, or retaining hardware
Cleaning this area before disassembly helps you see how everything fits together and makes reassembly easier.
Remove the old EGO edger blade
With the battery removed and the unit secure, you can move on to blade removal.
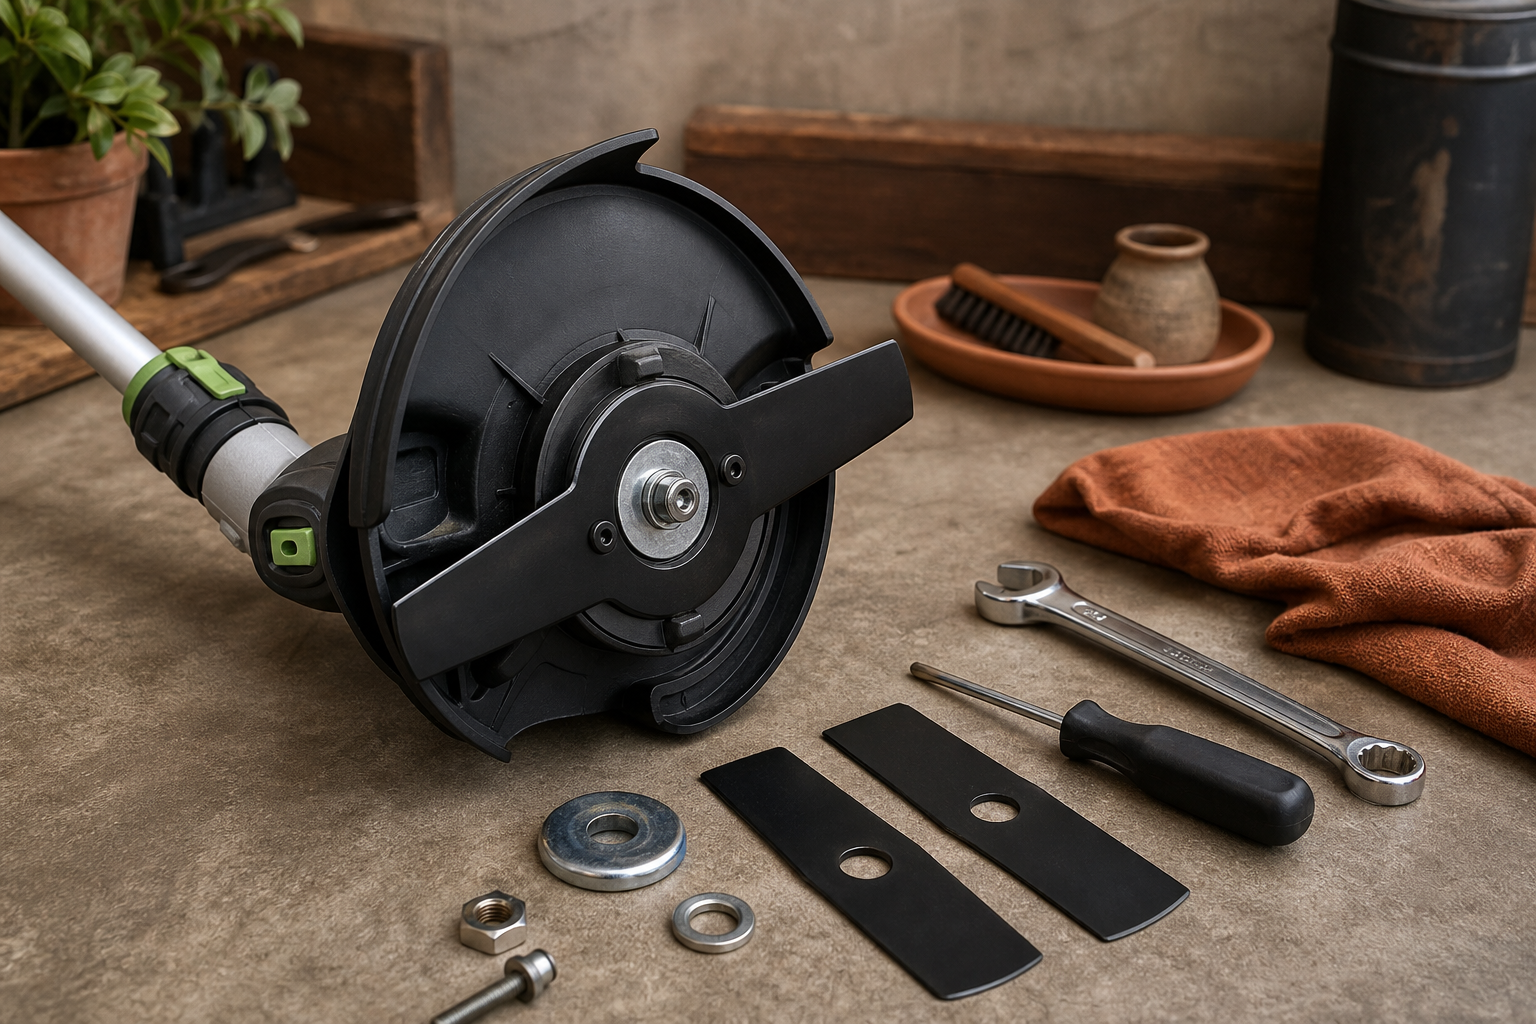
Depending on your EGO edger powerhead configuration, the blade is held in place by a central fastener with supporting hardware. Before loosening anything, take a moment to note the order and orientation of the parts. If needed, snap a quick photo with your phone. That can save time when installing the new blade.
Use the appropriate wrench or socket to loosen the blade retaining fastener. If the hardware is stubborn from dirt or corrosion, apply a small amount of penetrating oil and let it sit briefly. Hold the blade carefully or stabilize the head as needed while loosening the fastener.
Once the fastener is removed, set aside the hardware in order:
- Retaining bolt or nut
- Outer washer or flange
- Old blade
- Inner support washer or flange, if applicable
Slide the old blade off the spindle. If it doesn’t come off easily, check for packed debris behind it. Use a brush or rag to clean the spindle and mounting surfaces thoroughly.
This is also the right time to inspect the spindle for wear and make sure the mounting surfaces are flat and free of damage. A new blade installed on dirty or uneven hardware may wobble, wear prematurely, or cut poorly.
Install the new blade correctly
Now compare the new blade to the old one. Confirm that the center hole, diameter, and overall shape match. Using the correct compatible replacement blade is important for proper fit, balance, and performance.
Install the new blade onto the spindle in the same orientation as the original. This matters more than many users realize. If the blade is installed backward, the edger may not cut effectively and could put unnecessary strain on the tool.
Reinstall the hardware in the same order it came off. Make sure:
- The blade sits flush on the mounting surface
- Any locating features line up properly
- Washers or flanges are seated evenly
- The retaining fastener threads in smoothly by hand before tightening
Tighten the fastener securely using the proper tool. Avoid cross-threading or over-tightening. The goal is a firm, secure fit with no looseness or side play in the blade.
Once tightened, rotate the blade by hand carefully to make sure it turns freely and does not rub excessively against the guard. A slight close clearance is normal, but binding is not.
If you notice wobble after installation, remove the blade and recheck the hardware order, blade orientation, and any debris trapped between the blade and mounting flange.
Final checks and tips for better blade life
After the new blade is installed, give the entire edger head a quick once-over before putting it back into service.
Check the guard for cracks or looseness. Make sure the depth adjustment mechanism is functioning properly and that the shaft connection to the powerhead is secure if you are using an attachment-based system.
Reinstall the battery only after everything is fully assembled. Then test the edger in an open area at low workload first. Listen for unusual vibration, rattling, or scraping. A properly installed blade should run smoothly and track cleanly into the edge line.
To help your new blade last longer:
- Avoid striking concrete edges aggressively
- Watch for hidden roots, rocks, and metal edging
- Clean dirt and grass buildup after each use
- Replace the blade before it becomes severely worn
- Inspect mounting hardware each time you service the blade
A blade that is replaced at the right time not only gives cleaner results but also reduces strain on the motor and improves control during edging.
If your edger still performs poorly with a new blade, there may be another issue such as bent mounting hardware, excessive spindle wear, or incorrect depth setup. In those cases, checking the parts breakdown and replacing worn components is the next step. We carry compatible replacement parts for many EGO edger applications on our site, so you can keep your equipment working like it should.
Watch the video
If you’d like a visual reference before starting, watch the embedded EGO tutorial below:
The video is helpful for seeing the blade location and general removal process, while the guide above gives you practical service tips to help avoid common mistakes during replacement.
FAQ
How do I know when my EGO edger blade needs to be replaced?
Common signs include a smaller blade diameter from wear, chipped or bent edges, rough cutting performance, excessive vibration, or the edger struggling to maintain a clean trench line.
Can I sharpen an edger blade instead of replacing it?
Light touch-up sharpening may be possible in some cases, but if the blade is heavily worn, bent, cracked, or out of balance, replacement is the better and safer option.
Do I need to replace the blade hardware too?
Not always, but if the bolt, washers, or flanges are worn, rusted, distorted, or no longer holding the blade securely, they should be replaced. Using the correct compatible replacement parts helps ensure safe fit and reliable performance.
§ Catalog
Shop the catalog